fb-img
Youtube-img
insta-img
twitter-img
pinterest

Chocolate Ganpati

Top Rated Recipe
Last Updated: May 14, 2024

0
(0)

Key Details:

prep time: 2 hours

Cook time: 0 minutes

Difficulty Level: Moderate

Course: Mithai

Cuisine: Indian

Key Ingredients:

Dark chocolate

Corn syrup

Edible colourful dust

About Chocolate Ganpati

Table of Contents

Chocolate dough
shaped into Lord Ganpati and set in the refrigerator

Read More
  • Dark chocolate, melted 500 gms
  • Corn syrup 3 tbsps
  • Edible colourful dusts as required
Read More

Step 1.Take melted chocolate in a mixing bowl, add corn syrup and mix well till the mixture comes together and becomes like a dough. Set aside to rest for 1 hour.

Step 2.Divide the chocolate into various portions and shape them into different parts of Ganpati – body, feet, stomach, head with the trunk, ears, mukut and hands. Bring together the full idol by sticking the different parts with the help of hot water. Refrigerate till fully set.

Read More

Ingredients

    • Dark chocolate, melted 500 gms
    • Corn syrup 3 tbsps
    • Edible colourful dusts as required

How to Make Chocolate Ganpati (Stepwise Photos)

Method

  1. Take melted chocolate in a mixing bowl, add corn syrup and mix well till the mixture comes together and becomes like a dough. Set aside to rest for 1 hour.
  2. Divide the chocolate into various portions and shape them into different parts of Ganpati – body, feet, stomach, head with the trunk, ears, mukut and hands. Bring together the full idol by sticking the different parts with the help of hot water. Refrigerate till fully set.
  3. Dip a carving knife in a bowl of warm water and start carving the idol to finish. Keep dipping the knife and brush off the excess chocolate and use hot water to retain the shapes.
  4. Place the idol on a serving plate, dust it with edible colourful dusts. Decorate with a flower and chocolate mango modak.
  5. Use as required.

Additional Tips and Tricks

About chef

Chef Amrita Raichand

MUMMY KA MAGIC hosted by Amrita Raichand

(Chicken 65 Skewers)

(Chocolate Mango Modak)

Comments

No feedback Available

Leave a comment

Your email address will not be published. Required fields are marked *

Recipe Rating:

Average rating 0 / 5. Vote count: 0

Comments

No feedback Available

Leave a comment

Your email address will not be published. Required fields are marked *

Chaitrali Deshmukh

Thank you for the amazing instructions.

I have success w/ my dosa but does not last long stored in the refrigerator.

Maybe I am fermenting for too long, or add the salt before the rise?

I also was wondering if it is important to blend separately or can it be blended all together?

Reply

Chef Saransh Goila

Hi Chaitrali,
Yes, cut down the fermentation time and add salt only to the required portion at the time of making the dosa. Also storing in smaller containers just enough for a day helps. Once the batter in a larger container is disturbed (by stirring or scooping out a little etc), I feel it turns sour faster. You can blend them together if you want. But we do it separately because we want the dal batter to become fluffy and the rice batter slightly coarse. Fluffy dal batter makes the dosas light and coarse rice batter makes them extra crispy without making the dosas hard. Hope this helps

You May Also Like

View All

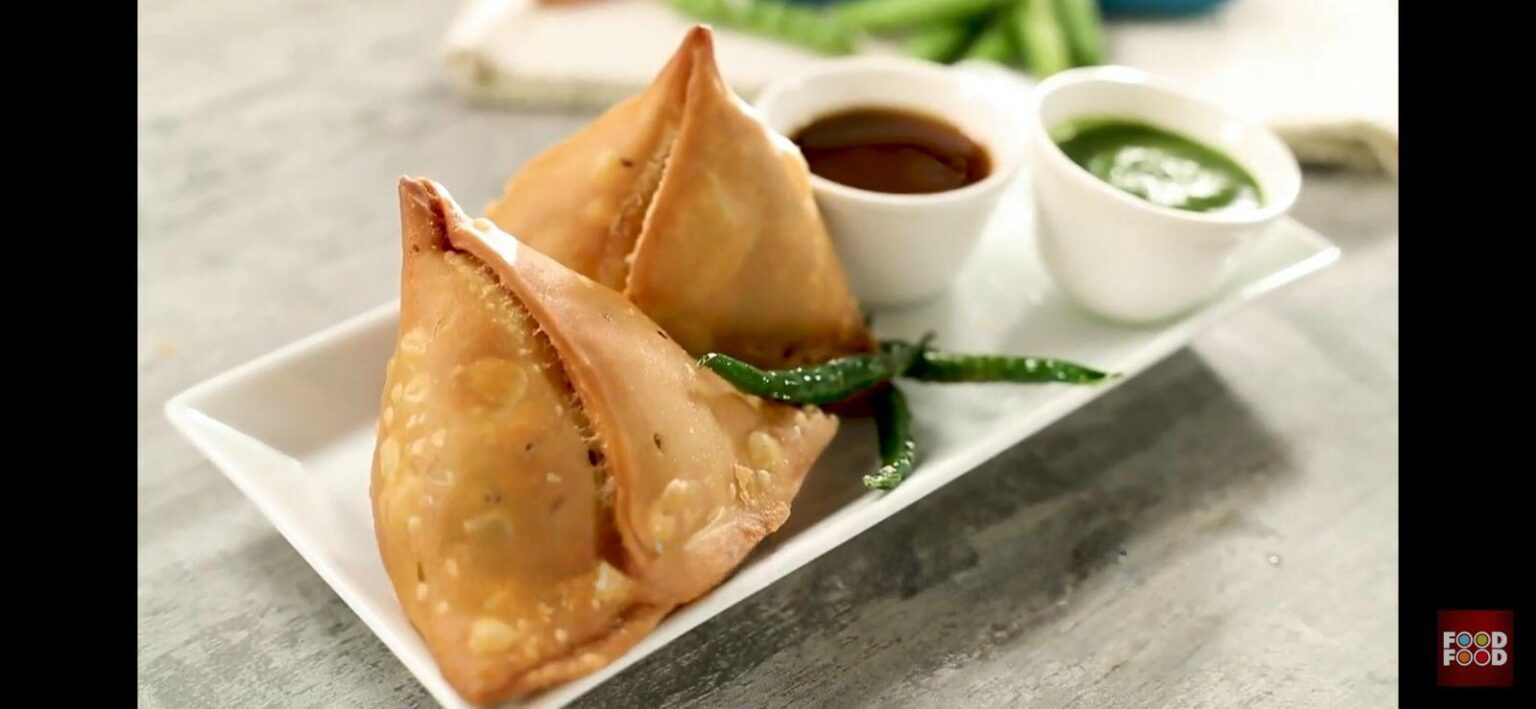
Punjabi Samosa

By Masterchef Sanjeev Kapoor

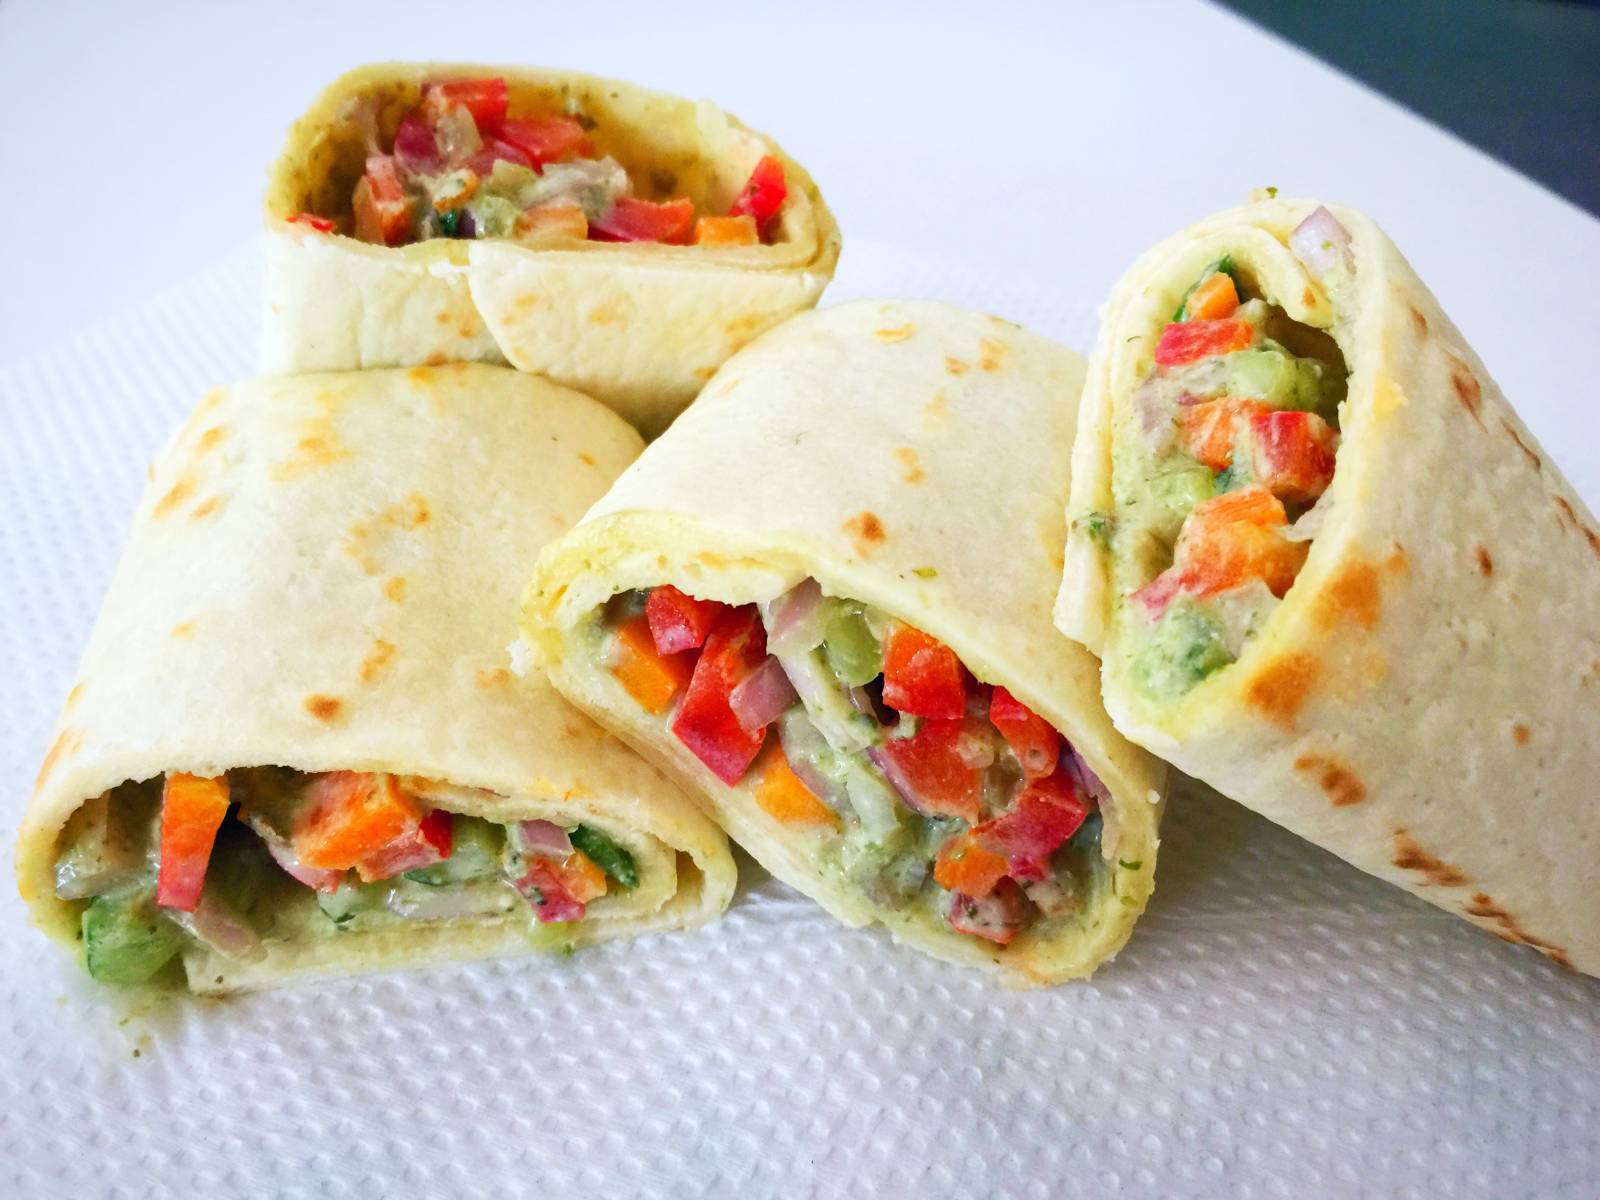
Tortilla Rolls

By CHEF PRANAV JOSHI

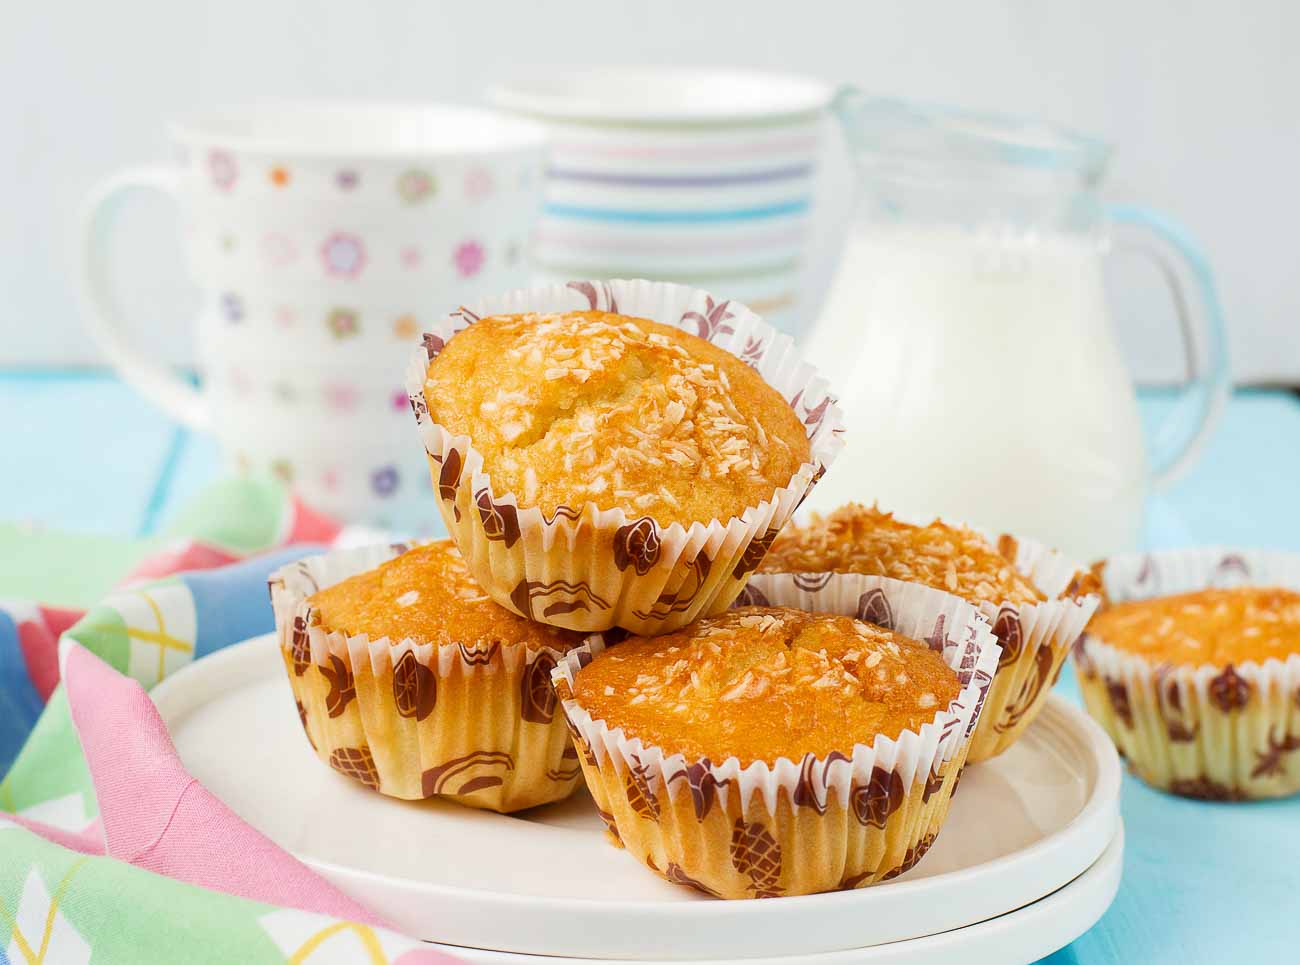
Pineapple Muffins

By Masterchef Sanjeev Kapoor

Stuffed Falafel

By CHEF PRANAV JOSHI

Seb aur Shakarkandi Chaat

By CHEF PRANAV JOSHI

Sweet Potato Dumpling

By Chef Rakesh Sethi

Recipes From Show

View All

Virgin Cider Mojito

By Tea Time

Spiced Cocoa Tea

By Tea Time

Khus Coconut

By Tea Time

Tomato Mary

By Tea Time

Recommended Recipes

View All

Cake

By Chef Shilarna Vaze (Chinu)

Mexican Fried Ice Cream

By CHEF PRANAV JOSHI

Lemon Cheese Cake

By CHEF PRANAV JOSHI

Marinated Orange and Strawberries

By Chef Rakesh Sethi

Chilled Berry and Green Tea

By Chef Rakesh Sethi

Cheesecake Bars

By Chef Rakesh Sethi