


Cheese And Ragi Pizza

Top Rated Recipe

Key Details:
.png)
prep time: 40 minutes
.png)
Cook time: 15 minutes
.png)
Difficulty Level: Easy
.png)
Course: Snack

Cuisine: Fusion
Key Ingredients:
Mozzarella cheese
Processed cheese
Finger millet (ragi) flour
Refined flour
3 coloured capsicums
Pizza sauce
Green & yellow zucchini
Corn kernels
About Cheese And Ragi Pizza
Cheese and Ragi Pizza is a unique and wholesome twist on the classic Italian favorite, blending the rich and gooey goodness of melted cheese with the nutritional benefits of ragi, also known as finger millet. This innovative pizza variation caters to those seeking a healthier and more diverse culinary experience.
The crust of the Cheese and Ragi Pizza is crafted using a combination of ragi flour, wheat flour, and other wholesome ingredients. Ragi, being a nutrient-dense grain, adds a distinct earthy flavor and a subtle nuttiness to the crust, while also providing essential vitamins, minerals, and dietary fiber.
The topping of this pizza is generously adorned with a melange of high-quality cheeses, creating a luscious and indulgent layer that complements the hearty ragi crust. Common cheeses like mozzarella, cheddar, and Parmesan blend harmoniously, contributing to the pizza’s creamy texture and savory profile.
The cheese and ragi pairing not only satisfies the taste buds but also adds a nutritional boost to the dish. Ragi is known for its high protein content, making this pizza an excellent choice for those looking to incorporate more protein into their diet. Additionally, ragi is gluten-free, making it a suitable alternative for individuals with gluten sensitivities.
To enhance the overall appeal, this pizza can be customized with an array of flavorful toppings such as fresh vegetables, aromatic herbs, and perhaps a drizzle of olive oil. The result is a delightful fusion of textures and tastes, where the chewiness of the ragi crust complements the gooeyness of the melted cheese, creating a truly satisfying dining experience.
Cheese and Ragi Pizza is not just a tasty treat but also a health-conscious option for those who appreciate the amalgamation of traditional and modern culinary elements. With its wholesome ingredients and delightful flavors, this pizza is a testament to the endless possibilities of culinary innovation.
Table of Contents
Pizza made healthy with finger millet flour
Read More- Mozzarella cheese and processed cheese, grated 6 tbsps
- Finger millet (ragi) flour ½ cup
- Refined flour (maida) ½ cup + for dusting
- Oil for greasing
- Preheat oven at 180ºC. Grease a baking tray with some oil.
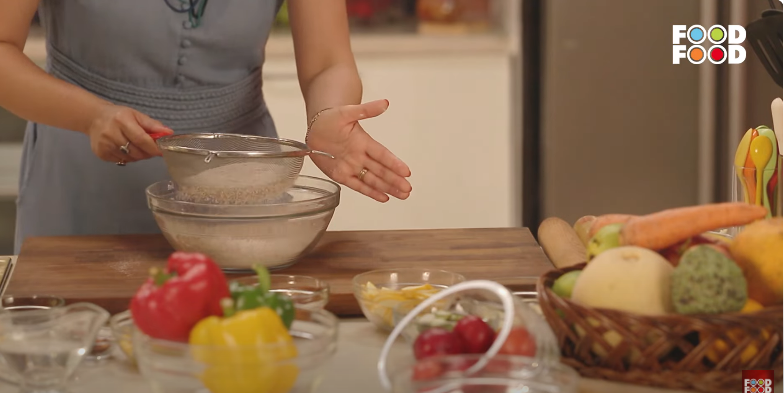
- Sift together refined flour, finger millet flour and ½ tasp salt into a bowl.
Step 1. Preheat oven at 180ºC. Grease a baking tray with some oil.
Step 2. Sift together refined flour, finger millet flour and ½ tsp salt into a bowl.
Read MoreIngredients
- Mozzarella cheese and processed cheese, grated 6 tbsps
- Finger millet (ragi) flour ½ cup
- Refined flour (maida) ½ cup + for dusting
- Oil for greasing
- Salt ½ tsp + to taste
- Fresh yeast 10 gms
- Sugar ½ tsp
- Small green capsicum 1
- Small red capsicum 1
- Small yellow capsicum 1
- Pizza sauce 2 to 3 tbsps
- Small yellow zucchini, sliced ½
- Small green zucchini, sliced ½
- Corn kernels 2 tbsps
- Black olive slices as required
How to Make Cheese And Ragi Pizza (Stepwise Photos)
- Preheat oven at 180ºC. Grease a baking tray with some oil.
- Sift together refined flour, finger millet flour and ½ tsp salt into a bowl.
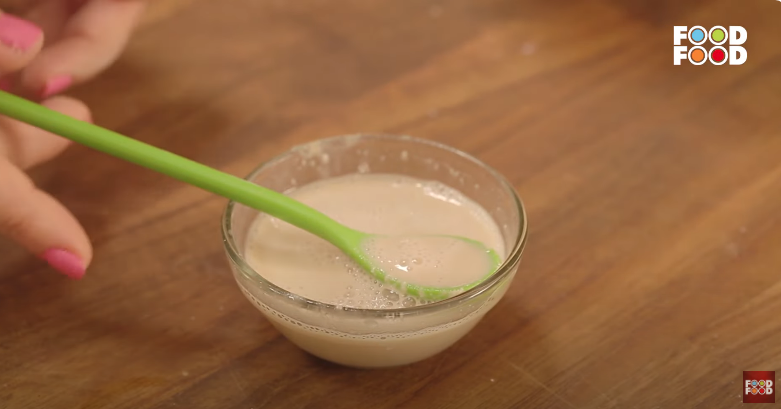
- Take yeast in another bowl. Add some warm water and sugar, mix well and set aside till it activates.
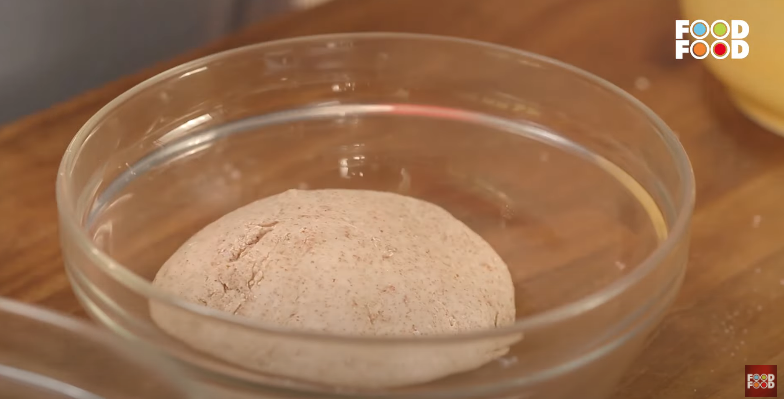
- Make a well in the flour mixture and pour the activated yeast in it and mix. Add sufficient water and knead into a soft dough. Place the dough in a clean bowl, cover with a damp muslin cloth and set aside in a warm place to prove.
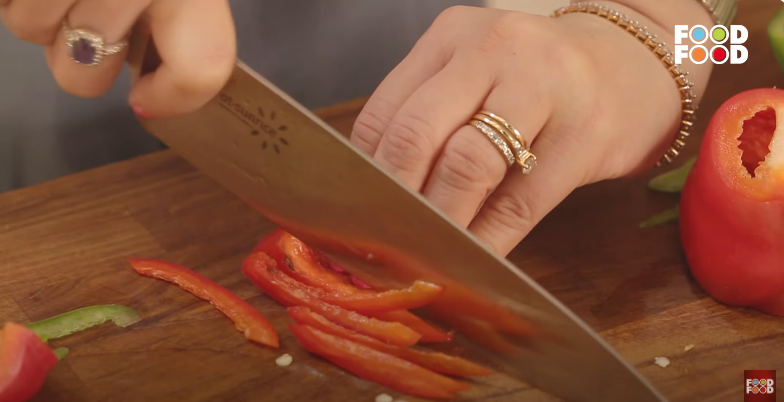
- Cut all the 3 capsicums into thin strips.
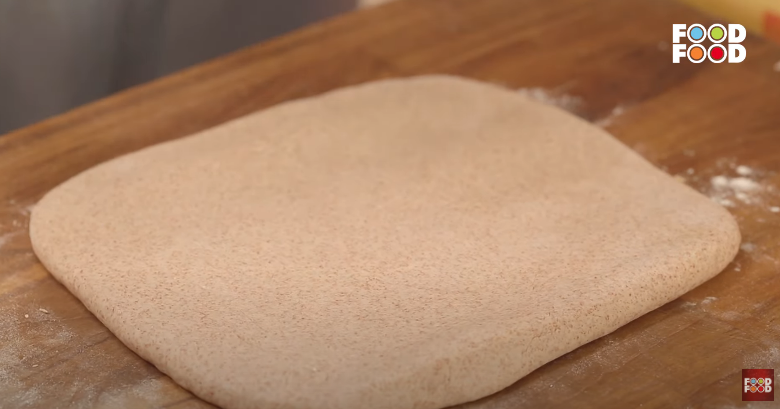
- Dust the worktop with some refined flour, place the dough on it and knock it back. Dust some flour over the dough and roll out into a medium thick square pizza base.
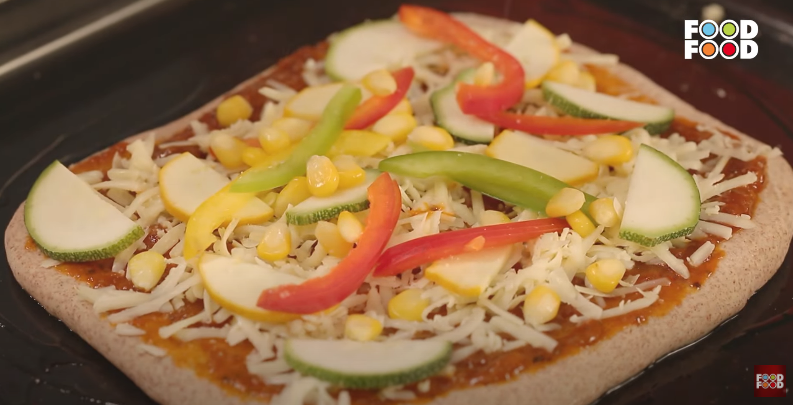
- Place the pizza base on the greased baking tray. Spread pizza sauce on it and top with 3 tbsps mixed cheese, zucchini slices (reserve some), capsicum strips (reserve some) and corn kernels.
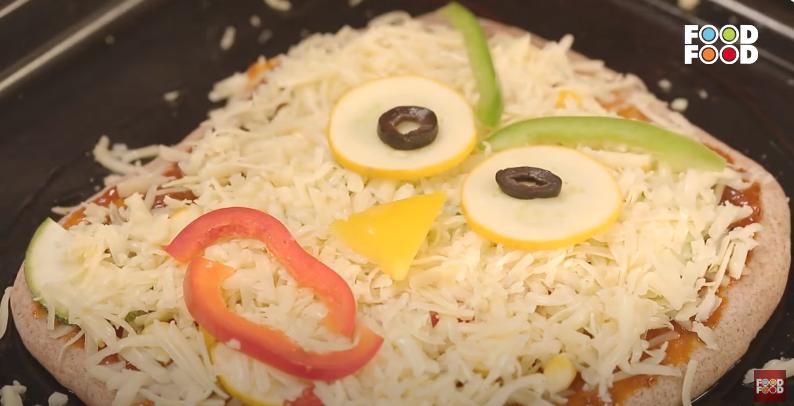
- Sprinkle some salt and top with remaining mixed cheese. Prepare a funny face using the reserved zucchini slices, capsicum strips and olive slices (eyes).
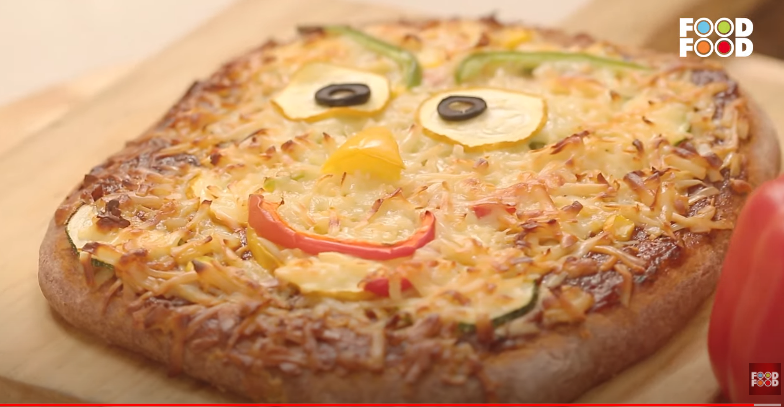
- Keep the tray in the preheated oven and bake for 15 minutes.
- Bring the tray out of the oven, arrange on a serving platter and serve hot.
Method
- Preheat oven at 180ºC. Grease a baking tray with some oil
- Sift together refined flour, finger millet flour and ½ tsp salt into a bowl.
- Take yeast in another bowl. Add some warm water and sugar, mix well and set aside till it activates.
- Make a well in the flour mixture and pour the activated yeast in it and mix. Add sufficient water and knead into a soft dough. Place the dough in a clean bowl, cover with a damp muslin cloth and set aside in a warm place to prove.
- Cut all the 3 capsicums into thin strips.
- Dust the worktop with some refined flour, place the dough on it and knock it back. Dust some flour over the dough and roll out into a medium thick square pizza base.
- Place the pizza base on the greased baking tray. Spread pizza sauce on it and top with 3 tbsps mixed cheese, zucchini slices (reserve some), capsicum strips (reserve some) and corn kernels.
- Sprinkle some salt and top with remaining mixed cheese. Prepare a funny face using the reserved zucchini slices, capsicum strips and olive slices (eyes).
- Keep the tray in the preheated oven and bake for 15 minutes.
- Bring the tray out of the oven, cut into slices, arrange on a serving platter and serve hot
Additional Tips and Tricks
Comments
No feedback Available


Comments
No feedback Available